怎样使用Hexo生成自己的github主页
欢迎使用Hexo! This is your very first post. Check documentation for more info. If you get any problems when using Hexo, you can find the answer in troubleshooting or you can ask me on GitHub. 好吧,我还是保留原文这段描述吧~接下来就是干货了,需要注意的事本教程环境是在Mac os下完成
配置环境
安装有node.js 和 npm~(你去node官网下载时,肯定都会带有npm吧)
安装有Git
一个github账号
上述工具的安装和使用我不是本教程的重点,如果你对于它们都很陌生,那本教程就不大适合于你了🙁
生成本地Hexo站点
在你安装好了node.js,并且修改了它的镜像源后,就可以真正开始接下来的操作了。(还没修改的赶紧去改改哈,天朝网络原因…我就不解释了)
1.安装Hexo:1
npm install hexo-cli -g
2.生成一个Hexo站点1
2hexo init [website-name] 名字任意, 这里我就使用的是blog, 完整命令是
hexo init blog
你会发现在你的目录下多了这些文件…项目中各文件夹的定义情查阅官网doc,这里选几个重要描述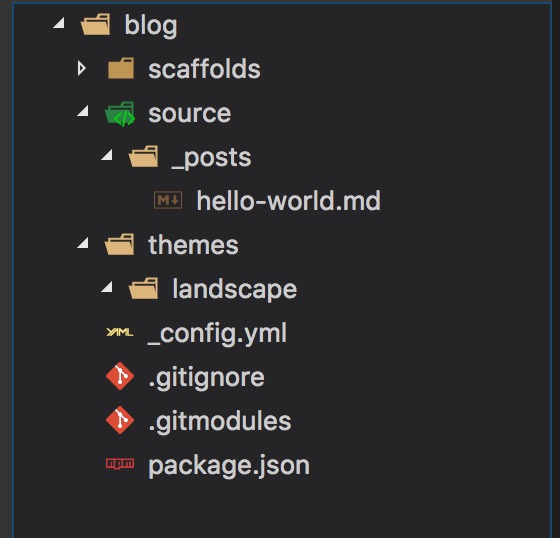
| 目录名或文件名 | 作用 |
|---|---|
| source | 用于存放你所生成各种原始资源,你如你的帖子 |
| themes | 存放你的站点主题及主题配置文件 |
| _config.yml | 站点配置文件,部署,安装插件,修改样式时会用 |
3.安装Hexo所需依赖1
2首先 cd blog (你之前生成站点名)
然后执行 npm install
4.本地预览调试1
hexo s --debug
之后你就可以代开浏览器访问localhost:4000地址预览博客页面,下面帖上一张图吧(已经很漂亮吧,如果你还不满意,后续会介绍如何修改主题)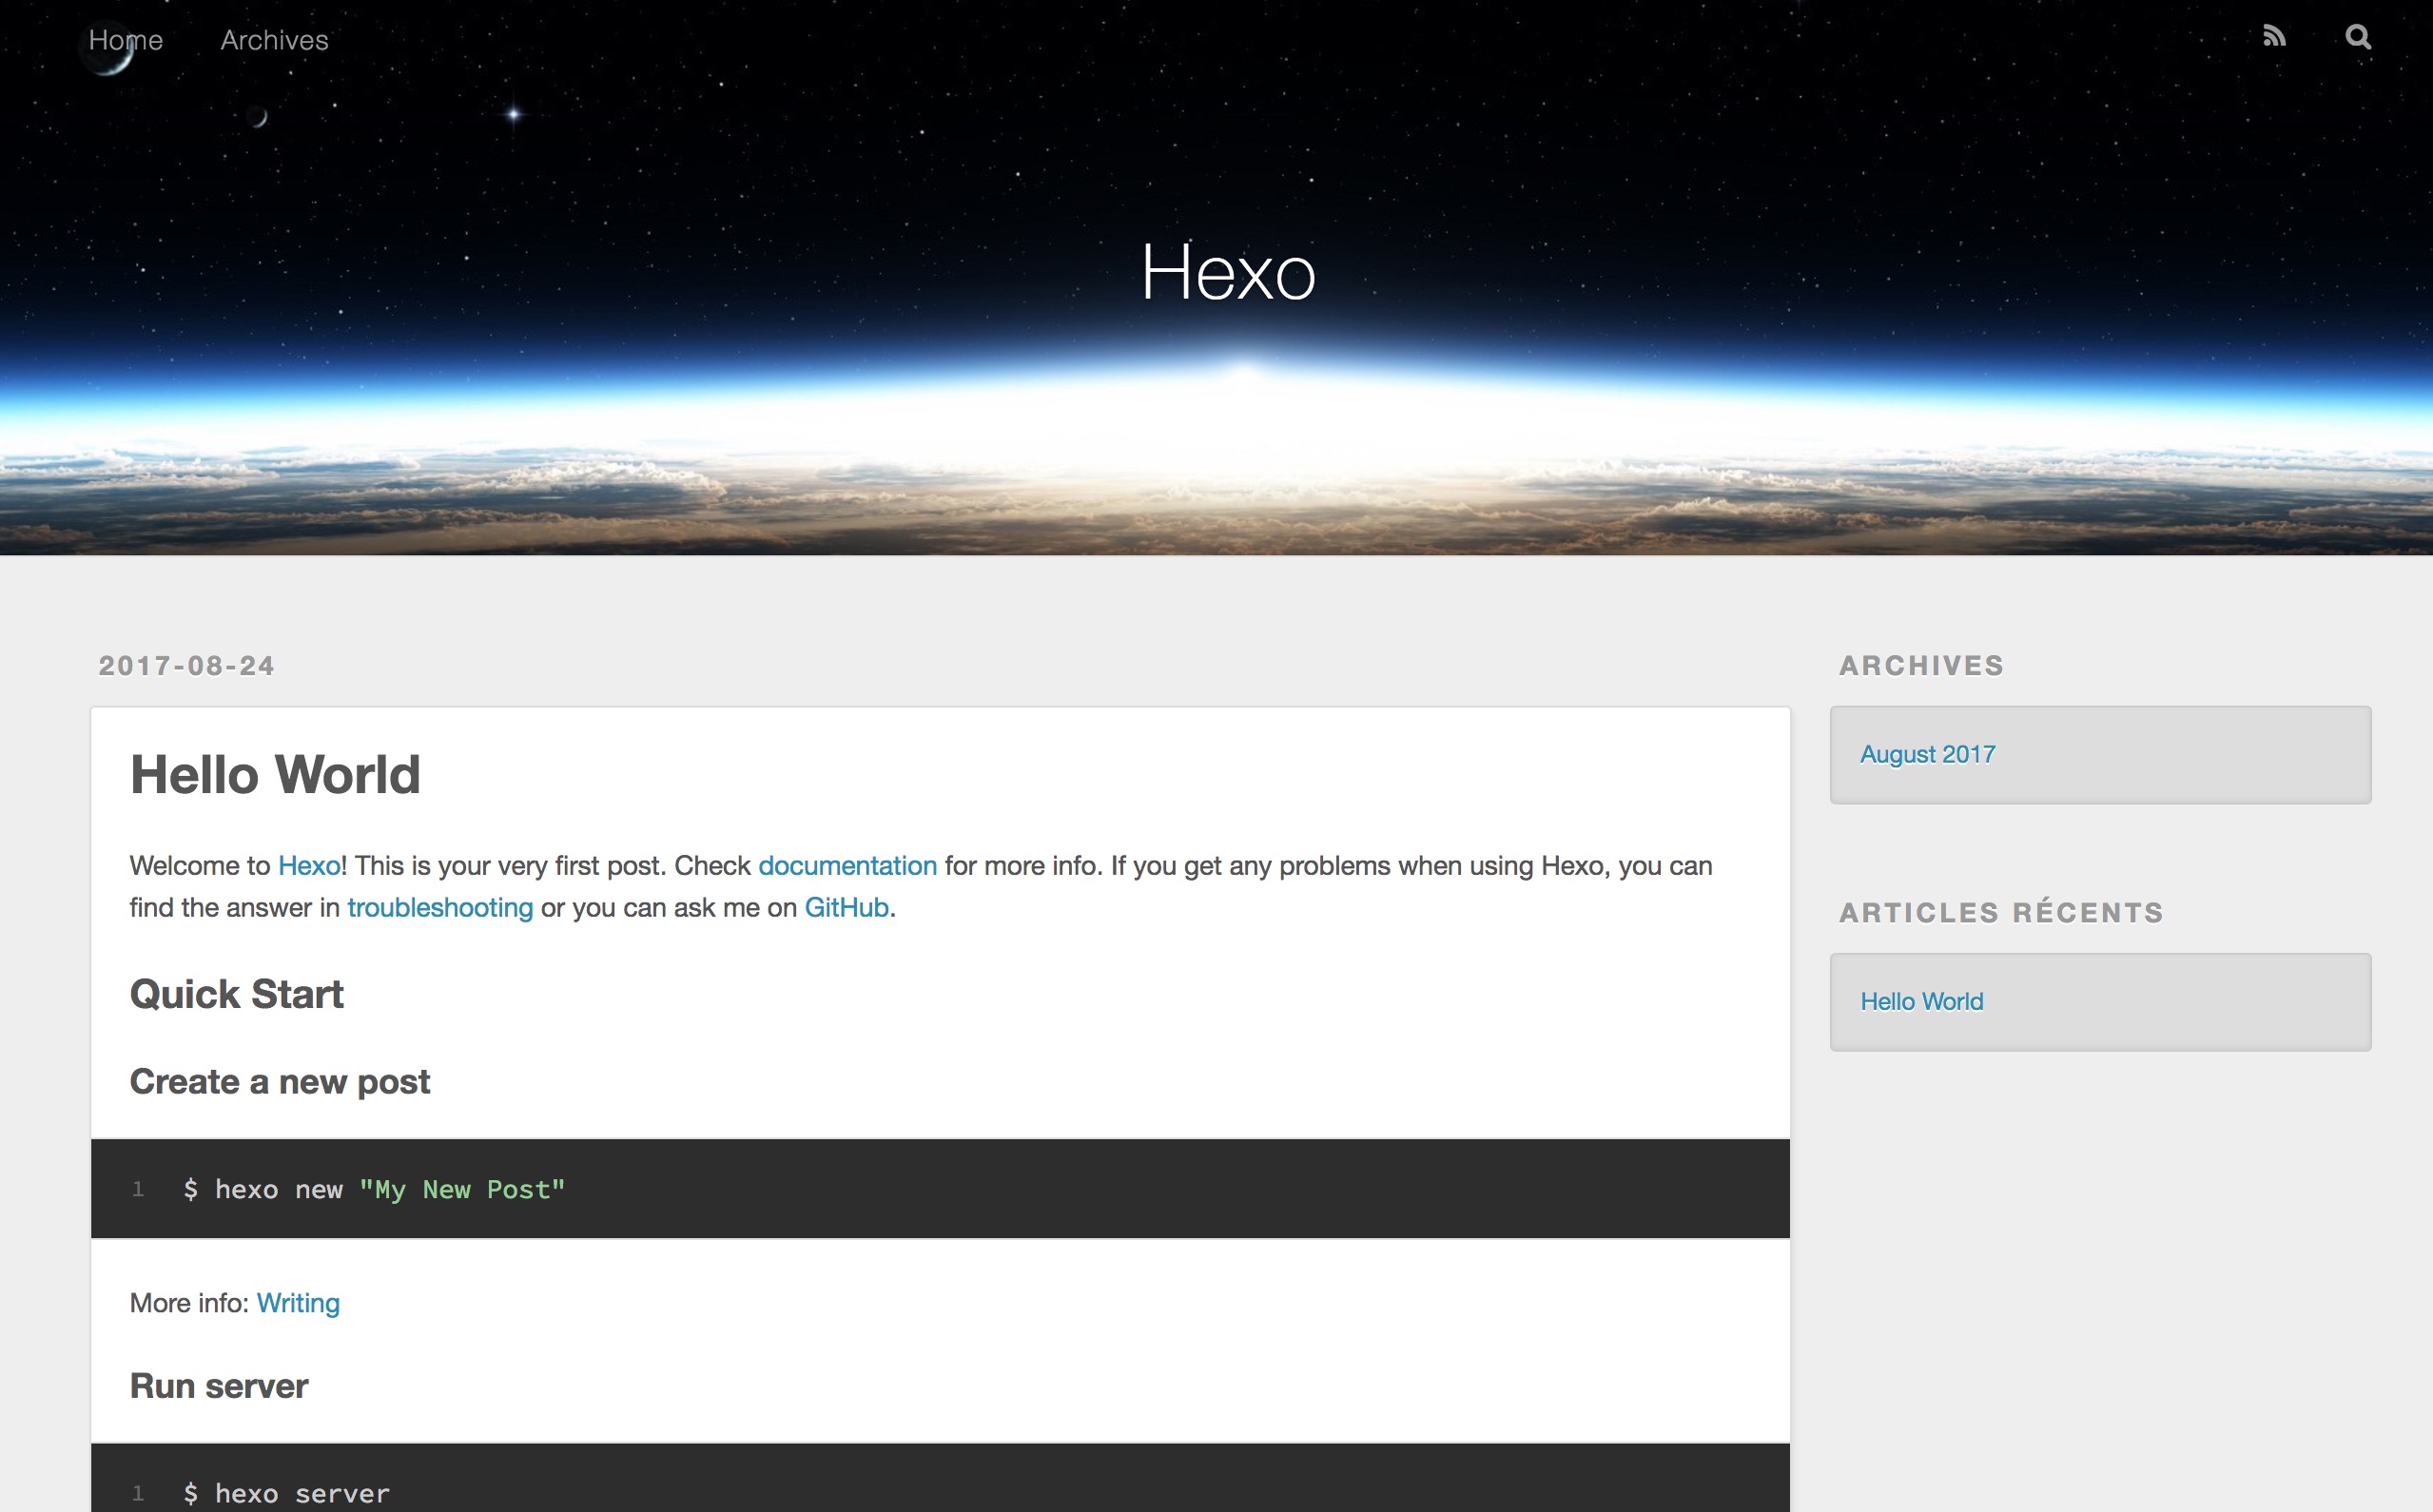
部署到Githup
部署到github之前你需要完成以下几个工作
1.在github上新建一个Repository,仓库名必须为【your_user_name.github.io】写法固定,这样github才会为你提供域名服务
2.安装hexo与github相关联的package
1 | npm install hexo-deployer-git --save |
3.修改站点配置文件,上文提到过的 _config.yml文件(位置在最下面),格式如下
1 | deploy: |
4.生成静态页面
1 | hexo generate (或hexo g) |
如果有报错发生,执行下列操作
1 | npm install hexo-renderer-ejs --save |
5.发布到你的github
1 | hexo deploy |
此时也许会让你输入你的github用户名和密码…当然如果你使用ssh key,那应该不会要求你的用户名和密码
此时就可以在浏览器中访问:https://deimo.github.io,如果有内容显示~那么恭喜你👏
至此~你的github主页就已经搭建好了~让我们庆祝一下🎁
发布新的博文
好吧,这里我就偷懒了…我就直接用生成站点时的原文内容好了…
Create a new post
1 | $ hexo new "My New Post" |
More info: Writing
Run server
1 | $ hexo server |
More info: Server
Generate static files
1 | $ hexo generate |
More info: Generating
Deploy to remote sites
1 | $ hexo deploy |
More info: Deployment
所以每次在你的博文写完后,你的部署操作大致是
1 | hexo clean |
一些其它常用的hexo命令参考,更多请参见Hexo官网
1 | hexo new "postName" #新建文章 |
其它参考
1.关于主题themes 当然你也可以知乎上搜索更多关于主题的信息
2.Hexo官网hexo
3.🙏感谢这位大佬的blog,才让我有了此教程,传送门